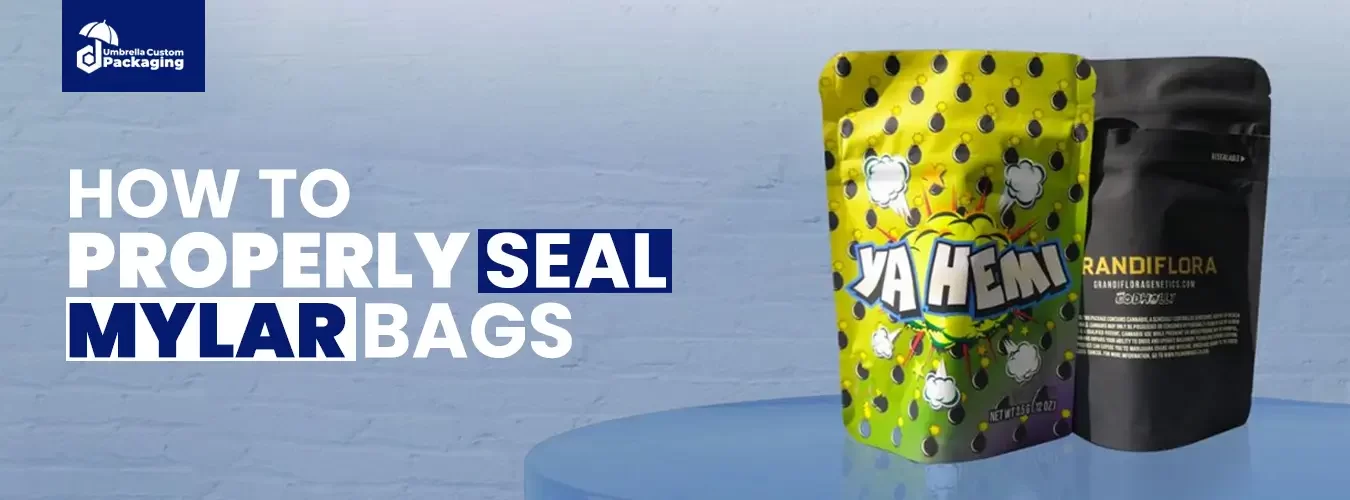
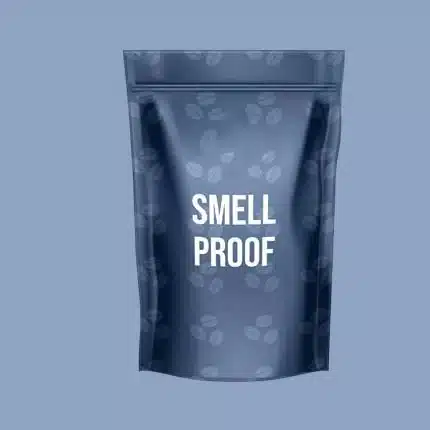
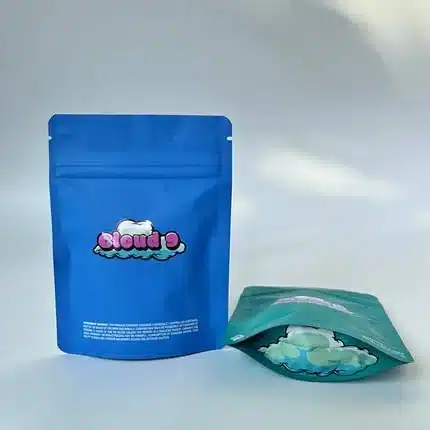
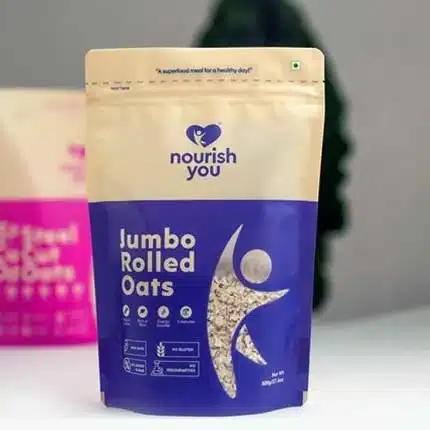
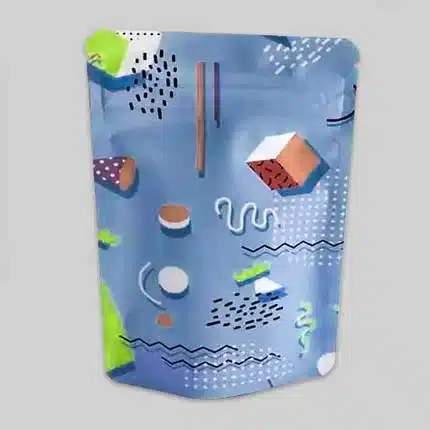
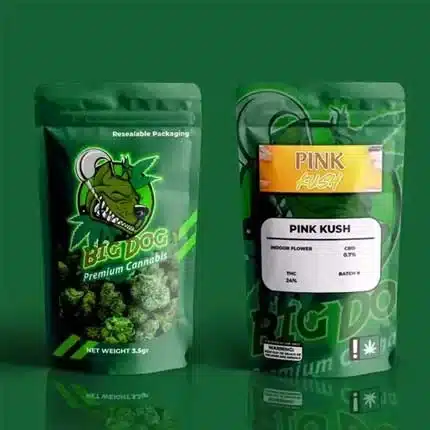
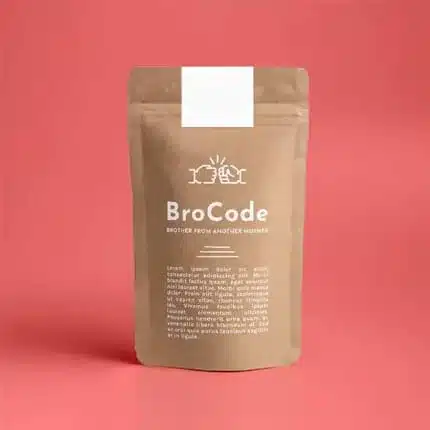
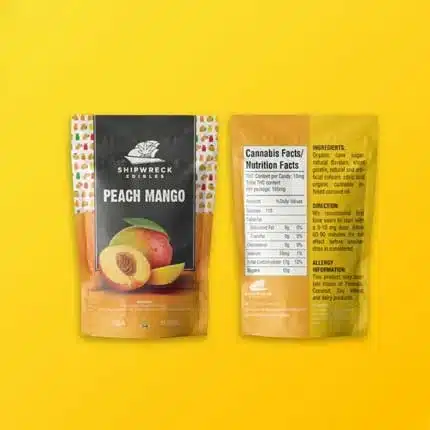
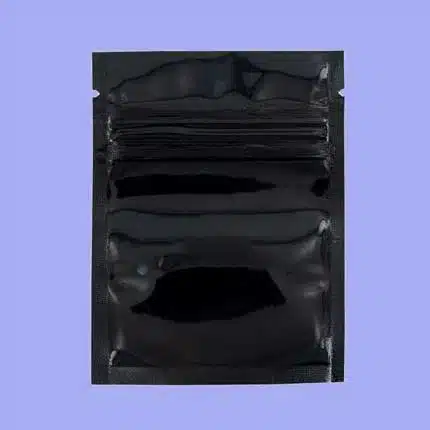
Mylar bags are strong and flexible storage bags made from a special type of plastic called BoPET (biaxial-oriented) polyethylene terephthalate). These bags have shiny, reflective surfaces and are great at keeping air and moisture out. Because of these qualities, people often use these bags for long-term food storage and preservation.
In addition to being airtight and moisture-resistant, Mylar bags are also very tough and tear-resistant. This strength helps protect the food inside from damage caused by outside factors. Moreover, these bags block oxygen, light, and moisture, which keeps food from spoiling and makes it last much longer. They are perfect for storing dry foods like grains, rice, beans, coffee, and powdered items. You can store food safely and keep it fresh for years.
How to Properly Seal Mylar Bags?
Sealing Mylar bags is simple if you follow the right steps. When you seal them correctly, your food stays fresh for a long time. However, if you skip a step or make a mistake, air or bugs can ruin your food. Don’t worry, though! I’ll guide you through the process step by step
1. Gather Your Supplies
First, make sure you have everything you need. You’ll need:
- Mylar bags
- The food you want to store (like rice or beans)
- Oxygen absorbers
- A heat sealer, hair straightener, or iron
- A hard surface (like a wooden cutting board)
- A marker for labeling
Having all your supplies ready ahead of time makes the process smoother and faster.
2. Fill the Mylar Bag
Next, open the bag and pour your food inside. Remember not to overfill it! Leave about 3-4 inches of space at the top. This extra space will make sealing much easier. If the food is uneven, gently shake the bag to level it out.
3. Add Oxygen Absorbers
Now it’s time to add the oxygen absorbers. These are super important because they remove air from the bag, keeping your food fresh. As soon as you finish filling the bag, quickly drop in the correct number of oxygen absorbers. For small bags, you might need 1-2 absorbers, while larger bags require more. Work quickly because oxygen absorbers start working as soon as they’re exposed to air.
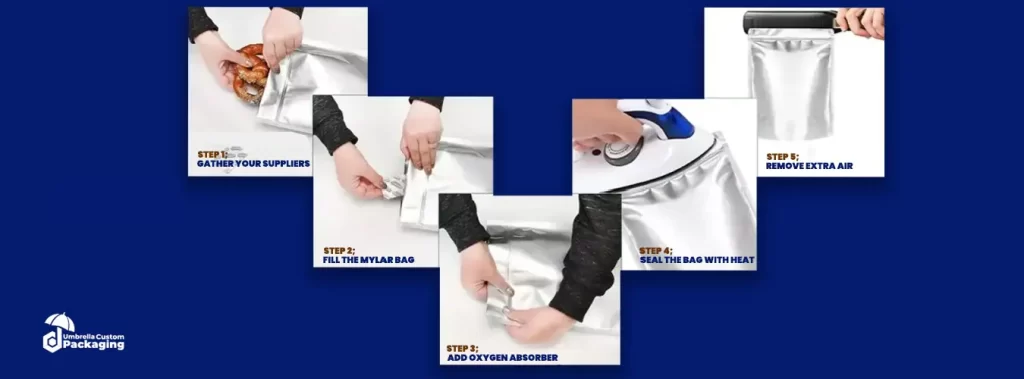
4. Seal the Bag with Heat
Now, it’s time to seal the bag. Use a heat sealer, hair straightener, or an iron. If you’re using an iron, set it to medium heat (and don’t use steam). If you’re using a hair straightener, choose a low or medium setting.
Then, start sealing one side of the bag and slowly move to the other side. Be sure to press down firmly so the heat seals the bag shut. At this point, leave a small corner open.
5. Remove Extra Air
Before sealing the last corner, gently press the bag to push out any remaining air. Be careful not to squish the food inside. Once most of the air is out, seal the final corner using your heat tool.
6. Label the Bag
Next, don’t forget to label your bag. Use a permanent marker to write the name of the food and the date you packed it. This small step helps you stay organized and saves time later when you’re looking for something.
9. Store the Bag Properly
Finally, store your sealed bag in a cool, dry place. Avoid areas with heat, sunlight, or humidity, such as near windows or heaters. A pantry or closet is perfect for keeping your Mylar bags safe.
The Science Behind Mylar Bags: How They Keep Food Fresh
Mylar bags work like super shields to protect your food from things that make it spoil, such as air, light, and moisture. To begin with, these bags are made of a special material called stretched polyester film, which is both super strong and durable. Additionally, the shiny, metal-like layer inside the bag reflects light, preventing harmful rays from reaching the food. Meanwhile, the bag also creates a tough barrier that stops air and water from getting inside.
Without air, bugs can’t survive, and food stays fresh for a much longer time. Therefore, these bags are perfect for storing dry foods like rice, beans, and pasta for years. Another important part of keeping food fresh is using oxygen absorbers inside the bag. These small packets play a big role by soaking up oxygen, which is one of the main reasons food spoils.
This is crucial because bacteria and mold, which need air to grow, can’t thrive in this environment. Furthermore, the bag’s tough materials keep moisture out, which is another enemy of food freshness. Together, the Mylar bag and oxygen absorbers form the perfect team to keep your food safe, tasty, and fresh for a very long time.

The Amazing Benefits of Using Mylar Bags
The benefits of using Mylar bags are as follows:
- First, they keep food fresh for a long time.
- Additionally, they protect food from air, light, and moisture.
- Furthermore, they stop bugs and pests from getting in.
- For example, they are great for storing dry foods like rice, beans, and snacks.
- Moreover, they are strong and tear-resistant for extra safety.
- Next, they are easy to use with heat-sealing for a tight closure.
- In addition, they are lightweight and flexible for easy storage.
- Finally, they extend the shelf life of food and help you save money.
How to Print on Mylar Bags
Printing on Mylar bags is easy if you follow these steps. Depending on the printing method you choose, the process can vary slightly
1. Choose the Right Printing Method
First, you need to choose the right printing method based on your needs. For large orders and colorful designs, flexographic printing works best. If you want high-quality, detailed prints, gravure printing is a good choice. If you only need a small batch of custom designs, digital printing is perfect. Alternatively, if you have simple logos or designs, screen-printing might be the easiest.
2. Prepare Your Design
Next, you need to create your design. Use a computer program like Adobe Illustrator or Canva to create a high-quality logo or artwork. Make sure the design fits the size of the bag properly. Also, double-check the quality of the images, especially for intricate or colorful designs. This step is important because it ensures your print looks great when finished.
3. Set Up the Printing Process
Now, you’ll need to set up your printing process. If you’re using flexographic printing, you will prepare printing plates and attach them to rollers. These rollers will press the design onto the bags as they move through the machine. For gravure printing, you will use an engraved cylinder with the design.
The cylinder will transfer the ink directly onto the Mylar. If you’re using digital printing, a large printer will print the design directly onto the Mylar bag. For screen printing, you will prepare a mesh screen with your design and push ink through the screen to print it on the bag.
4. Test the Print
Before you print a large batch, it’s smart to do a test print. This step helps you check if everything looks right. You can see if the colors and design appear sharp and clear. If something isn’t quite right, you can fix it before printing all the bags.
5. Print the Mylar Bags
Once the setup is correct and you’re happy with the test print, it’s time to print the bags. The Mylar bags will pass through the printing machine, and the design will transfer onto the surface of the bags. Be sure to monitor the process to ensure everything runs smoothly.
6. Let the Print Dry
After printing, allow the ink to dry properly. Some methods, like screen printing or digital printing, require the ink to dry to prevent smudging. So, give it some time to set before handling the bags.
7. Inspect the Print
Finally, carefully check the printed bags to make sure the print is clear, vibrant, and in the right place. If everything looks good, your Mylar bags are ready to use!
Top Mistakes to Avoid When Using Mylar Bags
When you use Mylar bags, it’s very important to follow the right steps. Otherwise, your food might not stay fresh, and all your hard work could go to waste. But don’t worry! I will walk you through the most common mistakes people make and show you how to avoid them. Let’s dive right in!
1. Not Using Enough Oxygen Absorbers
2. Leaving the Bag Open for Too Long
3. Using Bags That Are Too Thin
4. Not Checking for Holes or Tears
5. Storing the Bags in a Hot or Humid Place
6. Not Labeling the Bags
7. Using the Wrong Type of Food
8. Forgetting to Seal the Bag Properly
9. Reusing Old Mylar Bags
10. Packing Too Much Food in One Bag
We Are Experts in Making Mylar Bags
At Umbrella Custom Packaging, we create high-quality Mylar bags that meet your storage needs. We design each bag to be durable, airtight, and moisture-resistant. With years of experience, we use top-grade materials and advanced techniques to make bags that protect your items and keep them fresh for years. Whether you need small pouches or large storage bags, we create every product with precision and care to deliver the best results.
Our focus on quality and customer satisfaction sets us apart. We understand that everyone has different storage needs, so we offer customizable designs to match your preferences. You can store grains, beans, snacks, coffee, or any dry goods with confidence using our bags. Our team answers your questions quickly and helps you pick the best options for your needs. When you choose our Mylar bags, you make a smart decision for reliable and long-lasting storage.
Conclusion
In conclusion, Mylar bags are one of the best tools for keeping food fresh and safe for a long time. They work by protecting your food from air, light, and moisture, which are the main causes of spoilage. Whether you want to store rice, beans, coffee, or snacks, these bags are a perfect choice. To ensure your food stays fresh, always seal the bags properly.
For example, you can use a heat sealer, an iron, or even a hair straightener to close the bag tightly. Additionally, don’t forget to add oxygen absorbers before sealing to remove any leftover air. With the right steps, you can store food for months or even years and enjoy fresh, tasty meals whenever you need them!


